
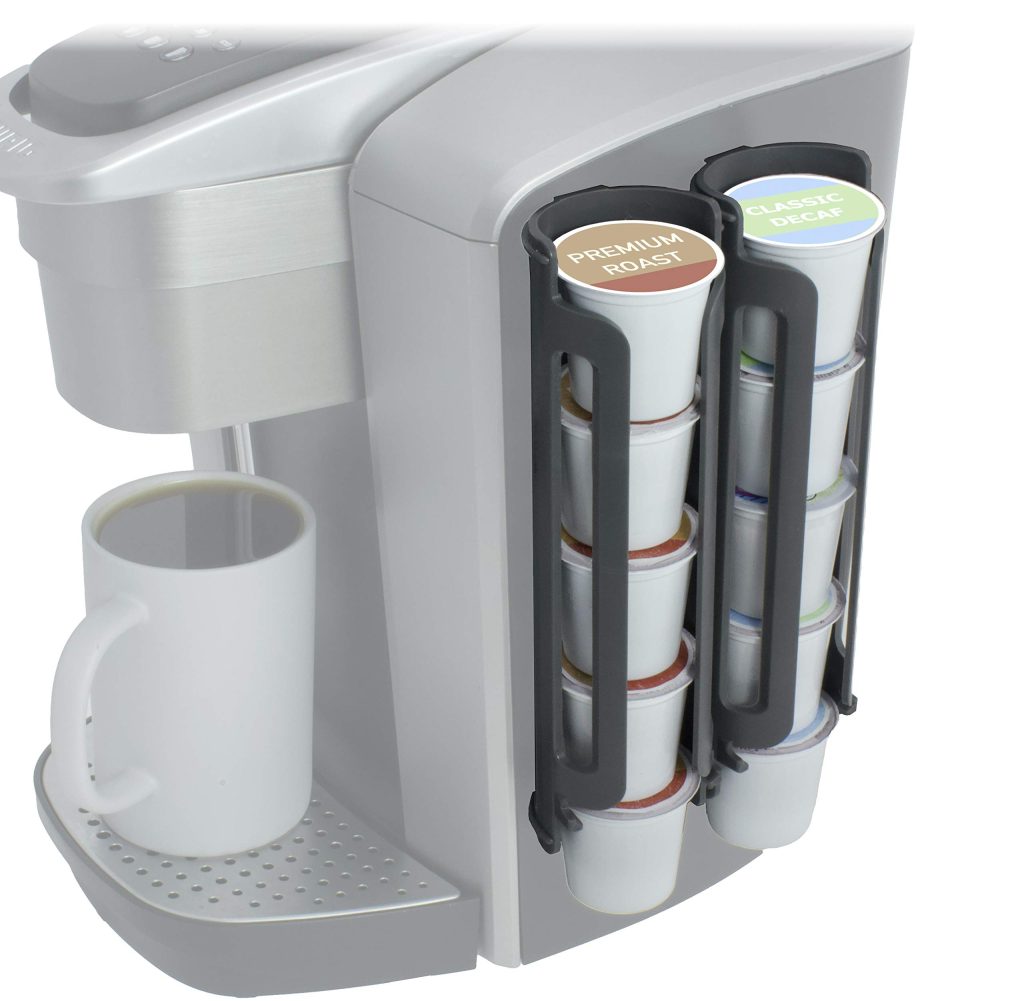
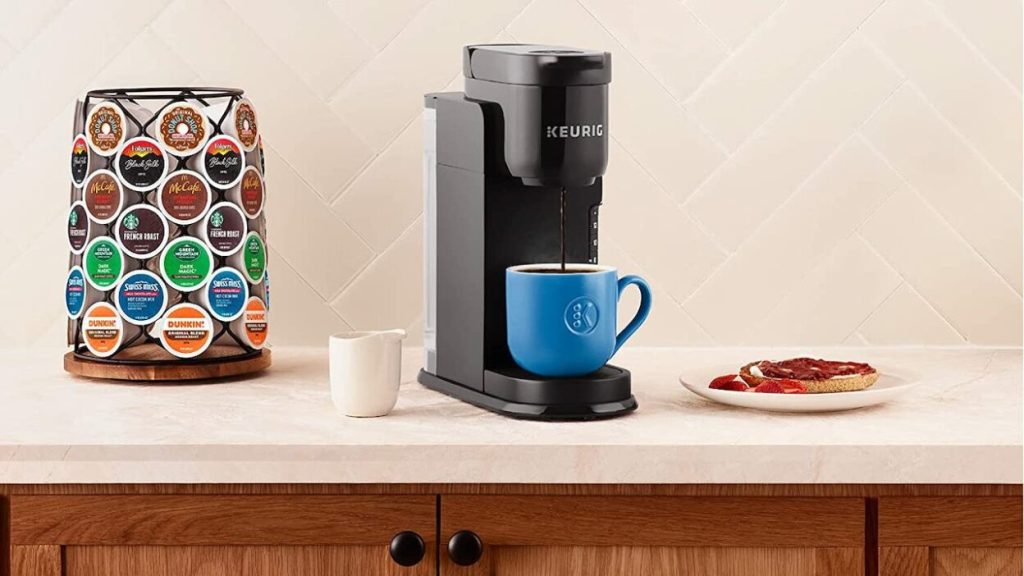
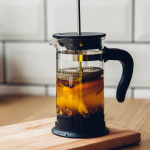
Why Does My Keurig Hardly Drip (and What Should I Do About It!)
A fresh, hot cup of coffee is one of my favorite things in the morning. My coffee machine, on the other hand, is one of my least favorite items. So, I’ve been wondering why my Keurig drips a little.
Here’s what I discovered after doing some research:
The excess scale has most likely grown up inside the water lines of a Keurig that barely drips or doesn’t discharge the necessary amount of coffee. The exit needle, on the other hand, could be clogged. Cleaning the exit needle and doing a Keurig descale usually solve these problems.
But that’s just the start of the process of repairing a slow-dripping Keurig. So let’s get this party started!
I can’t think of anything more aggravating in the morning than having to wait an eternity for a single cup of coffee to brew. After all, the whole point of buying a Keurig is to have a cup of hot, excellent coffee quickly.
So, if you’ve ever wondered why my Keurig drips a little bit and how to fix it, keep reading!
How can you fix a Keurig that drips slowly?
Slow pouring coffee is used for two purposes.
- A clogged water line is one example.
- A clogged puncture needle is the other.
You can attempt a few different things to solve your slow-dripping Keurig.
Descaling your brewer is the first and easiest action to take.
Fortunately, I have the most popular article on the subject. So read (and save) this article on why your descaler might not be working. There are also some pointers on how to get your descaler to operate.
Unclogging your water pipes can be as simple as descaling your Keurig or following some of the other ideas in that post.
Coffee grinds or cocoa can jam puncture needles quite easily. With a slow dripping Keurig, unclogging them with a paperclip should solve any problems.
Why does my Keurig only make half a cup of coffee?
A clogged needle or the need to descale your Keurig can cause it not to brew the desired cup size.
Start by descaling your Keurig if it only brews half a cup of coffee. Scale accumulates in your water lines over time, and this accumulation is removed by descaling.
Start by descaling your Keurig if it only brews half a cup of coffee. Scale accumulates in your water lines over time, and this accumulation is removed by descaling.
Every three months, Keurig advises descaling.
Follow these steps to descale your full-sized Keurig:
- Remove the water container and empty it.
- Take out the coffee pods.
- Turn off the “auto-off” feature on your computer (if you have that).
- Turn off the brewer.
- Fill your brewer’s water container with an entire bottle of Keurig descaling solution.
- Fill the bottle with cold water and place it in the container with the water.
- On the stand, place a large coffee mug.
- Raise the Keurig to handle and then lower it.
- To begin the procedure, select the 10oz button (the largest) and hit it.
- Allow your Keurig to sit (power on) for 30 minutes after pouring out the contents and repeating the process until the “add more water” indicator comes on.
- Fill the water container to the brim with fresh water and dump out any remaining water mixture.
- To rinse the unit, repeat the brewing procedure at least 12 times without using a K-cup (adding more water if necessary)
If you have a tiny Keurig, follow the same steps, but use only a third of the descaling solution. Without a K-cup in the machine, use these instructions to descale your tiny Keurig:
- Lift the handle, wait 5 seconds, then lower it and click the brew button.
- Toss it out once the cup is filled and start over, but don’t hit the brew button.
- Turn off the power when the brew button glows red and begins to dispense.
- Allow 30 minutes for it to sit.
- Restart the machine after 30 minutes and select brew.
- Get rid of the water.
- Then, for a total of three times, repeat with only water (no descale solution).
Your puncture needles may need to be cleaned if your machine is still only providing you half a cup. In the next section, you can learn how to clean your puncture needles.
To reveal the bottom exit needle, pull the lever on the pack holder.
Turn the pack holder over while holding the lever down.
To clear any clogs, insert a straightened paperclip into the exit needle.
Reassemble the pack holder and housing by thoroughly rinsing it with water.
After that, clean the needles at the top of the entry and exit.
Look underneath the top by opening the handle. Two needles will be seen.
Clean both holes with the paperclip.
It’s OK to tilt the brewer to get a slightly better view. Just be careful not to over-tilt the machine because there is still water inside.
Replace the pack holder in the brewer and replace the reservoir.
Fill the reservoir with water and make a cleansing brew without using a K-cup.
What can I do if my Keurig isn’t delivering water?
Clogged water lines are a common cause of your Keurig not dispensing water. Minerals and calcium are abundant in well and hard water.
Minerals and calcium accumulate in the machine’s fine lines. As a result, the system becomes congested.
Using the instructions above, try descaling your machine and cleaning the needles. If it doesn’t work, your lines may be clogged with air.
Follow these steps to bleed the airlines:
- Fill your reservoir to roughly a fourth of its capacity.
- Rapidly raise and lower the reservoir until you notice tiny air bubbles rising from the bottom. Continue until there are no more bubbles to pop.
- Fill the reservoir when there are no more bubbles visible. You should be fine to go at this point.
- While it may be tempting to use hot water to descale or unclog your machine, this is something you should never do.
Not only will it not remove any built-up scale, but it will also not make the coffee any hotter, and it may even harm or destroy your Keurig. In this new piece, you’ll learn why.
Is there a reset button on Keurigs, and if so, how do I use it?
When the descale function on our Keurig coffee machine stops working, we become desperate for a reset button.
You could be disappointed if you’re searching for a reset button like the one on the bottom of the garbage disposal.
Keurig coffee makers lack a simple reset button.
The machine may be reset by disconnecting it for up to 5 minutes, and the brewing cycle can be reset by opening and shutting the K-cup holder. Inside the unit, there is nothing that the user can service.
Another common question about Keurig coffee makers is if they may be left on all day or should be turned off after each use.
In this section, I address the subject of whether you can leave your Keurig on all day, and I discuss how much electricity it consumes and whether it is a fire threat there. So, if you leave yours on for long periods, take a look at it.
To read it on my site, click the link.
Did I address all of your concerns about your Keurig’s sporadic drips?
We looked into why your Keurig is barely dripping in this article. We also discussed why your Keurig only makes half-cup coffee at a time.
We discussed how to resolve these vexing problems. First, try descaling your Keurig, but then check your needles. The needles become clogged and must be unclogged.
But what if your Keurig coffee isn’t up to the mark?
Most individuals acquire a Keurig for its convenience rather than because they are coffee connoisseurs. But it doesn’t imply we enjoy coffee with a poor flavor!
There are some things you can do if the flavor of your Keurig coffee isn’t what it used to be or what you want it to be!
Most Popular Posts


Hey There! I am Agnes a Fitness Fanatic, Mom of two Amazing Daughters and a Kitchen and Cooking Enthusiast. I love blogging about Kitchen Upgrades, Appliances, and Cooking Tips, and this Blog aims to help you make wiser choices when it comes to your kitchen. Feel free to contact me if you need help!!!!!!